When it comes to maintaining a lush, green garden or a healthy lawn, an efficient irrigation system is essential. Traditional sprinklers have long been the go-to solution for watering large areas, but many homeowners and landscapers are now turning to rotary nozzles for a more water-efficient approach.
Rotary nozzles are a type of sprinkler head that delivers water in a rotating spray pattern. This design helps in distributing water more evenly and efficiently, reducing water waste. But how do you go about converting your standard sprinkler heads to rotary nozzles? In this article, we’ll guide you through the process, explaining why converting your sprinklers is beneficial and how you can achieve this upgrade in a few simple steps.

Understanding Rotary Nozzles
How Rotary Nozzles Work
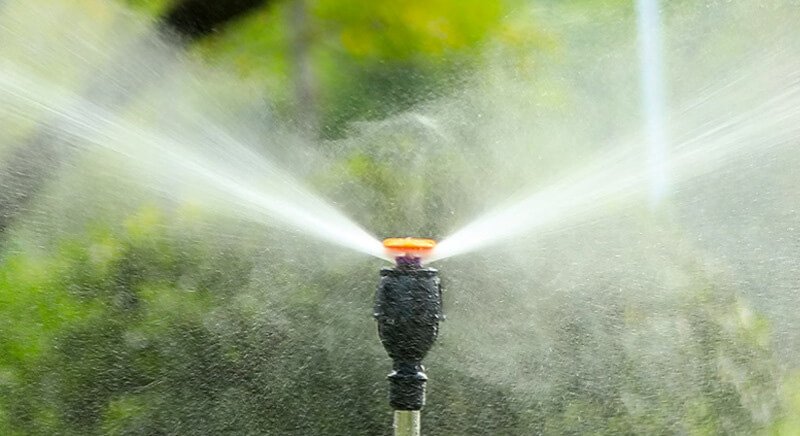
Rotary nozzles operate by rotating the water stream in a full or partial circle, unlike traditional sprinkler heads that often release water in a fixed spray pattern. The rotating action ensures a gentler, more uniform distribution of water, reducing runoff and allowing the water to penetrate deeper into the soil. This is particularly beneficial for slope areas and gardens that need precise water control.
Benefits of Rotary Nozzles
There are several reasons why rotary nozzles are gaining popularity:
- Water Efficiency: Rotary nozzles use less water compared to traditional sprinklers while maintaining effective coverage. This is due to the slower application rate, which prevents water from running off before it has time to soak into the ground.
- Improved Coverage: Because of their rotating action, rotary nozzles ensure that water is spread more evenly, even in irregularly shaped garden areas.
- Versatility: Rotary nozzles come in various sizes and spray patterns, making them ideal for different landscape needs—from large lawns to small flower beds.
- Long-Term Savings: The water conservation benefits translate to lower water bills over time, making rotary nozzles a cost-effective choice for both residential and commercial applications.
Tools and Materials Needed
To successfully convert your sprinklers to rotary nozzles, you will need to gather a few tools and materials. Here’s a list to help you get started:
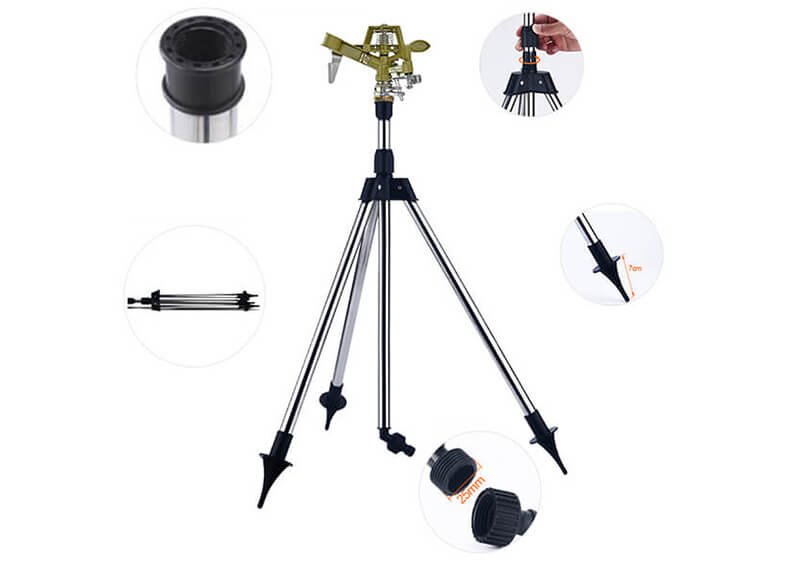
1. Rotary Nozzles
The most essential component of the conversion process is the rotary nozzles themselves. Make sure to choose nozzles that match the flow rate and spray radius of your current sprinkler heads. Rotary nozzles come in various spray patterns (e.g., 90°, 180°, 360°), so pick the ones that best suit your lawn or garden’s shape and size.
2. Adjustable Wrench
An adjustable wrench will help you remove your existing sprinkler heads and install the rotary nozzles. This tool is also useful for tightening any fittings to ensure a secure connection.
3. Thread Sealant (Optional)
In some cases, a thread sealant may be needed to create a watertight seal around the nozzle and prevent leaks. This is especially important if your irrigation system is older or the threads are showing signs of wear.
4. Sprinkler Risers/Adaptors (If Needed)
If your rotary nozzles do not match the height or thread type of your current sprinkler heads, you may need to purchase sprinkler risers or adaptors. These components help elevate the nozzle to the correct height and ensure compatibility with your system.
5. Teflon Tape (Optional)
While thread sealant is a great option, some people prefer using Teflon tape to wrap around the threads for an extra layer of protection against leaks.
Steps for Converting Sprinklers to Rotary Nozzles
Converting your existing sprinkler heads to rotary nozzles is a straightforward process that can be done in a few easy steps. Here’s a step-by-step guide to help you complete the conversion.
Step 1: Turn Off the Water Supply
Before starting any irrigation system maintenance, always turn off the water supply. This will prevent water from spraying while you’re working on the system. Locate the main valve for your irrigation system and ensure the water is completely shut off to avoid any accidents.
Step 2: Remove the Existing Sprinkler Head
Use an adjustable wrench to carefully remove the current sprinkler head. If it’s tightly screwed in, a little extra force may be needed, but be cautious not to damage the threads on the riser or pipe. Set the old sprinkler head aside—you won’t be using it again.
Step 3: Prepare the Riser for the Rotary Nozzle
Check the riser (the pipe that holds the sprinkler head) to ensure it’s clean and free of debris. If necessary, clean the threads on the riser before installing the new rotary nozzle. This will ensure a secure fit and prevent leaks. If your new rotary nozzle is a different size than the old one, you may need a sprinkler riser adaptor to fit the new nozzle properly.
Step 4: Install the Rotary Nozzle
Carefully screw the rotary nozzle onto the riser or adaptor. Be sure the nozzle is tightened securely, but avoid over-tightening, as this can damage the threads or cause leaks. Some nozzles may have an adjustment screw that allows you to set the spray pattern—make sure it’s set to your desired angle before attaching it fully.
Step 5: Adjust the Nozzle for Coverage
Once the nozzle is installed, you can fine-tune the coverage area. Most rotary nozzles allow you to adjust the spray radius and flow rate. Rotate the nozzle or adjust the screw to ensure the water is being distributed evenly and effectively over the desired area. This step is crucial for ensuring that your garden or lawn receives the right amount of water without waste.
Step 6: Check for Leaks
Turn the water supply back on and test the new rotary nozzle by running the system. Inspect for leaks around the nozzle base and riser. If you notice any leaks, you may need to tighten the nozzle a little more or apply some thread sealant to create a better seal.
Step 7: Test the Spray Pattern
Finally, stand back and observe the spray pattern. Ensure that the water is being distributed evenly across the targeted area. If necessary, make adjustments to the nozzle’s angle, spray radius, or flow rate. Once the nozzle is working as desired, you’ve successfully converted your sprinkler system to rotary nozzles!
Tips for Successful Conversion
Converting to rotary nozzles is a great choice for better irrigation efficiency, but to ensure the conversion goes smoothly, here are some tips for success:
Choose the Right Nozzles for Your System
Not all rotary nozzles are the same. When selecting nozzles, consider the flow rate and spray radius that match your irrigation system’s needs. Make sure the nozzles are compatible with your existing water pressure and system layout. Selecting the wrong nozzle can lead to inefficient watering or poor coverage.
Adjust the Spray Pattern to Fit Your Landscape
One of the biggest advantages of rotary nozzles is the ability to adjust the spray pattern. Before finalizing the installation, test different spray angles and ranges to ensure you’re getting full coverage of your lawn or garden. Proper adjustment can help you avoid watering areas that don’t need it, saving water and improving efficiency.
Maintain Your Nozzles Regularly
To keep your rotary nozzles functioning at their best, be sure to clean them regularly. Dirt and debris can clog the nozzles, reducing their performance. Use a small brush or soft cloth to gently clean the nozzles every few months. A little maintenance can go a long way in extending the life of your nozzles and improving their efficiency.
Potential Issues to Watch Out For
While converting to rotary nozzles is relatively simple, there are some potential issues you should be aware of:
Water Pressure Compatibility
Rotary nozzles require a certain amount of water pressure to operate effectively. If your system has low water pressure, the nozzles may not rotate properly, or you may notice uneven water distribution. Check the water pressure before installation and, if necessary, adjust your system to ensure optimal performance.
Leaks Around the Nozzle Base
One common issue during installation is leaks at the base of the nozzle. This can happen if the nozzle is not tightened enough or if the riser threads are worn. If you notice leaks, try tightening the nozzle further or applying some thread sealant to create a better seal.
Inadequate Coverage
If the spray pattern isn’t covering the intended area properly, there may be an issue with the nozzle placement or the angle of the nozzle. Check to ensure that the nozzle is not obstructed by plants or debris. Adjust the spray radius and angle until you achieve full coverage.
Clogging and Blockages
Over time, dirt and debris can clog rotary nozzles, affecting their performance. If you notice reduced water flow or uneven spray patterns, clean the nozzles thoroughly. Regular maintenance will help avoid this issue and keep your system running smoothly.
Conclusion
Converting your traditional sprinkler system to rotary nozzles is a simple yet effective way to improve water efficiency and ensure a healthier garden or lawn. By following the steps and tips outlined in this guide, you can easily make the switch and enjoy the benefits of even water distribution, reduced runoff, and lower water bills.
With a little maintenance and attention to detail, your rotary nozzles will serve you well for years to come. If you haven’t yet made the conversion, now is the perfect time to upgrade your irrigation system for more sustainable and efficient watering.