Installing pop-up sprinklers in your lawn is a fantastic way to ensure your grass and plants receive consistent, efficient watering. These sprinklers are designed to pop up from the ground when activated, providing even coverage without the unsightly appearance of fixed sprinkler heads. Whether you’re looking to replace an old system or install a new one, proper installation is key to achieving the best results.
Having a well-installed pop-up sprinkler system not only saves you time and effort but also ensures that your lawn is watered in the most efficient way possible. By following the right steps, you can enjoy a lush and vibrant garden with minimal maintenance. In this guide, we’ll walk you through everything you need to know about installing pop-up sprinklers in your lawn, from planning your layout to making final adjustments for perfect coverage.
What You Need to Install Pop Up Sprinklers
Before you get started, it’s important to have the right tools and materials on hand. Below is a list of everything you’ll need for the job:
Essential Tools
- Pipe Cutter or Hacksaw: Used to cut PVC pipes to the correct lengths.
- Shovel: For digging trenches where the sprinkler pipes will go.
- Screwdriver and Wrench: For attaching sprinkler heads and tightening connections.
- Teflon Tape (Optional): Helps to seal threaded pipe joints and prevent leaks.
Materials
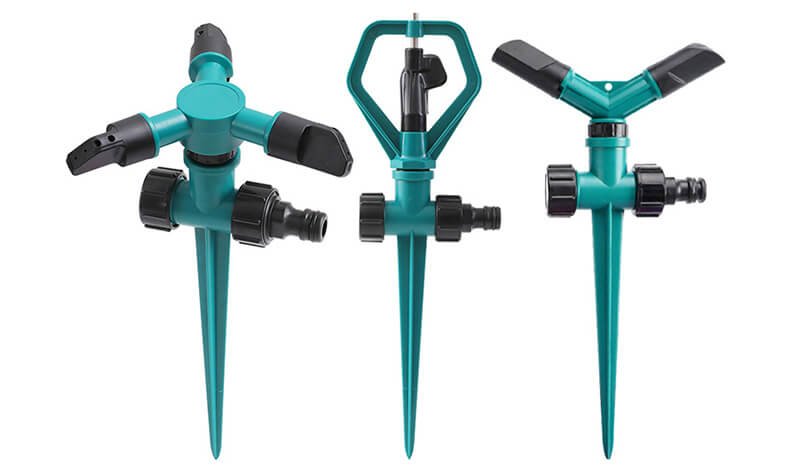
- Pop-Up Sprinkler Heads: These are the actual sprinklers that will pop up when activated. Ensure they are suitable for the size of your lawn.
- PVC Pipes and Connectors: These form the water distribution system. PVC is durable and resistant to water pressure, making it ideal for underground sprinkler systems.
- Sprinkler Risers: These elevate the sprinkler heads above the ground level so they can pop up properly.
- Valve Boxes: These enclose and protect the sprinkler system’s valve mechanism.
Having everything ready will make the installation process smooth and efficient, allowing you to focus on getting the job done right without unnecessary interruptions.
Planning Your Sprinkler System Layout
Proper planning is essential to ensure that your pop-up sprinkler system provides even and efficient coverage across your entire lawn. Here are the key steps to help you plan the layout:
Measure the Area
Start by measuring the dimensions of your lawn. Determine the total area that needs to be watered and calculate how many sprinklers you’ll need based on the size of the space.
Sprinkler Placement
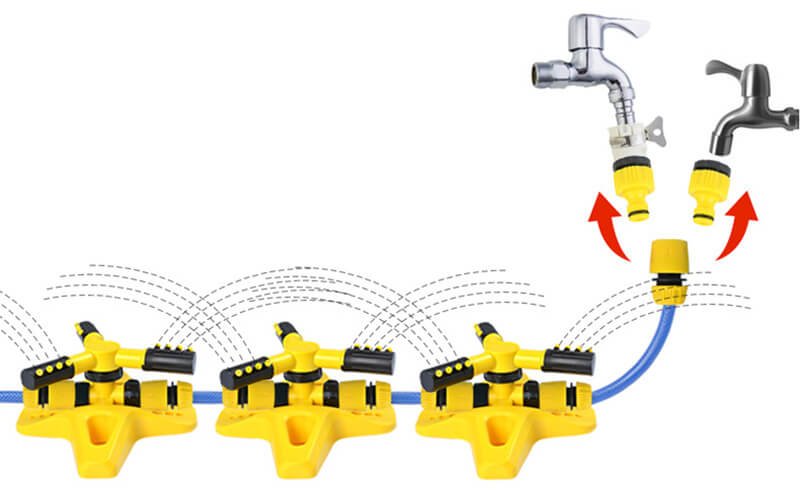
When placing your sprinklers, ensure they are spaced evenly to avoid over-watering or under-watering any sections. A common rule of thumb is to space sprinklers about 10-15 feet apart, but this can vary depending on the type of sprinkler and water pressure.
Consider Water Pressure
Check the water pressure from your main supply. Pop-up sprinklers require a certain amount of water pressure to function properly, so if your pressure is too low, you might need additional sprinklers or a booster pump.
Identify Watering Zones
If your lawn is large or has areas with different water needs (such as shaded spots vs. sun-exposed areas), you might need to create multiple watering zones. Each zone will be controlled by a valve, ensuring that specific areas are watered at different times.
Preparing the Lawn for Installation
Now that you have your layout planned, it’s time to prepare your lawn for the installation. Proper preparation is key to ensuring the system works efficiently and is easy to maintain.
Mark Sprinkler Locations
Use spray paint or flags to mark the locations where each sprinkler head will be installed. This helps visualize the sprinkler pattern and ensures accurate placement.
Digging Trenches
Next, use a shovel to dig shallow trenches where you’ll lay the pipes. The trench should be about 6-8 inches deep and wide enough to accommodate the PVC pipes. Be careful to avoid damaging any existing lawn features like tree roots or underground utilities.
Clear the Area
Before you begin digging, make sure the area is free of debris, rocks, or other obstacles that might interfere with the pipes or sprinklers. A clear and level surface ensures that the sprinklers will pop up and function properly.
Installing the Sprinkler Pipes
Once the trench is ready, it’s time to install the sprinkler pipes. Here’s how to do it step by step:
Cut the PVC Pipes
Using a pipe cutter or hacksaw, cut the PVC pipes to the necessary lengths based on your planned layout. Ensure that the cuts are straight and clean to avoid leaks.
Assemble the Pipes
Fit the PVC pipes together using appropriate connectors and elbow joints. Use PVC glue to secure the connections and ensure a tight, leak-free seal. Always follow the manufacturer’s instructions for applying the glue to avoid mishaps.
Position the Pipes
Lay the connected pipes into the trench, making sure they align with the marked sprinkler positions. If necessary, adjust the pipes to ensure they are correctly positioned.
Install Sprinkler Risers
At each sprinkler location, attach a sprinkler riser to elevate the sprinkler head. The riser should be installed at the correct height so that the sprinkler head is flush with the ground when not in use and pops up when activated.
Attaching the Pop-Up Sprinklers
Now that the pipes are in place, it’s time to attach the pop-up sprinklers to the risers. This step is crucial for ensuring that the sprinkler heads pop up correctly and provide even water distribution. Here’s how to do it:
Position the Sprinkler Heads
Align each pop-up sprinkler head with the riser. The sprinkler should be at the proper height so that it is flush with the ground when retracted and pops up when water is flowing.
Connect the Sprinkler to the Riser
Attach the sprinkler head to the riser using the threaded connection. Ensure the threads are tightly screwed together to avoid leaks. You can also use Teflon tape on the threads to further prevent leaks, especially for threaded connections.
Check Alignment and Adjust
Once attached, make sure the sprinkler heads are pointing in the right direction to cover the intended area. Adjust the angle of each head if necessary to ensure proper water coverage.
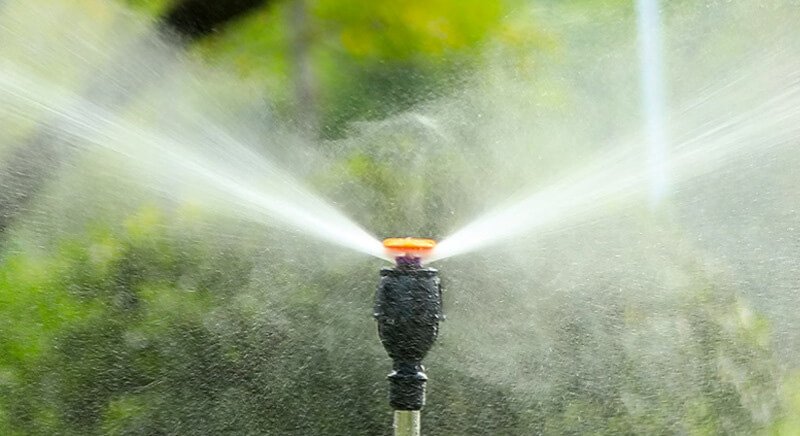
Test the Pop-Up Mechanism
After installation, manually activate the system to test that the sprinkler heads pop up smoothly. This ensures that the springs inside the sprinklers are working properly, and the heads will rise to the correct height when the system is in operation.

Connecting to the Water Source
The final step in installing your pop-up sprinklers is connecting the system to the main water supply. This ensures that your sprinkler system can receive water and start working.
Install a Backflow Preventer
To prevent contamination of your main water supply, install a backflow preventer at the point where the system connects to the water source. This is especially important in areas with local regulations regarding water safety.
Connect the Main Line
Connect the sprinkler system’s main supply pipe to the water source using a coupling or valve adapter. Ensure the connection is secure and that there are no leaks.
Attach the Control Valve
Install the control valve for each watering zone, allowing you to control when and how long the sprinklers operate. The valve connects to the main water line and directs water to the appropriate zones.
Test for Leaks
Once everything is connected, turn on the water and check for any leaks at the connections. Tighten any loose fittings and ensure water flows properly through the system.
Adjust Water Pressure
If necessary, adjust the water pressure to ensure that the sprinklers operate at the correct flow rate. Some systems may have a pressure regulator to help manage water flow.
Testing and Adjusting the System
Once your system is connected, it’s time to test everything to ensure proper functionality and make adjustments as needed.
Turn On the System
Start by turning on the water supply and activating the sprinkler system. Watch carefully as the sprinkler heads pop up to check for any issues, such as uneven water coverage or sprinklers that aren’t popping up properly.
Check for Leaks
Inspect every connection and joint in the system for potential leaks. If you notice any, tighten the connections or reapply Teflon tape to threaded joints to ensure a tight seal.
Adjust Sprinkler Coverage
After confirming that the sprinklers are working, check the water coverage. Ensure that each sprinkler is covering the intended area without spraying unwanted spots, such as sidewalks or driveways. You may need to adjust the sprinkler heads or change their angle for optimal coverage.
Fine-Tune the Spray Patterns
Some pop-up sprinklers come with adjustable spray patterns. Adjust the radius or spray angle to ensure that the water is reaching every corner of your lawn. This will help prevent dry spots or over-watering.
Final Touches
With everything tested and adjusted, it’s time for the finishing touches to complete the installation process.
Backfill the Trenches
Carefully backfill the trenches with soil, covering the pipes and sprinkler risers. Make sure the sprinkler heads are flush with the ground, allowing them to pop up freely without obstruction.
Level the Sprinkler Heads
Ensure that each sprinkler head is at the proper height. If a head is too high or too low, it may not function correctly. Adjust the risers as needed to ensure the heads are even with the lawn surface when retracted.
Tidy Up the Area
Clear away any leftover debris or soil from the installation process. Level the ground around the sprinkler heads to ensure they can pop up and retract without interference.
Installing pop-up sprinklers is a great way to maintain a healthy and well-watered lawn with minimal effort. By following the steps outlined in this guide, from planning your layout to making final adjustments, you can create an efficient watering system that ensures your lawn stays lush and green.